
Cars and vehicles always need regular maintenance and with that you need to take out its components and install them afterwards. So, today we will exclusively shed light on how to remove oil pan without removing engine
The good part is, you can effortlessly take out the engine oil pan if you have the right tools and some proper know-how about vehicle machinery. To change the oil pan you first need to drain the old oil from the motor in the car crankcase. After that you can use the socket wrench to loosen and remove the bolts to take the oil pan out.
But first let’s find out when you should replace the oil pan from the engine.
3 Reasons Why You Should Remove the Oil Pan
Here are the common reasons to why removing oil pan is important
Leaking Oil Pan
If the engine oil pan is leaking it is obvious why you should change it. The leakage in the oil can occur when the engine has receiver damage due to whatever reason. Therefore, removing the oil pan becomes crucial.
Revamping old components
If you want to replace the car component oil pan makes its demand for the durability concerns as well. It’s especially ideal if you want to keep up with car malignancy and want more efficiency.
Sludge Buildup
Another reason is too much sludge build up. The contamination such as carbon, dirt, moisture and water vapors and unburned fuel ruin the oil pan after setting down for too long.
The build up dirt into the engine oil pan base can also impact the durably and creaks blockages in the seamless oil passing. Not to mention issues like overheating, loss or lubrication etc., so removing oil pan is ideal in that case.
How to Remove Oil Pan without Removing Engine
Here is the step by step explanation on how you can do that.
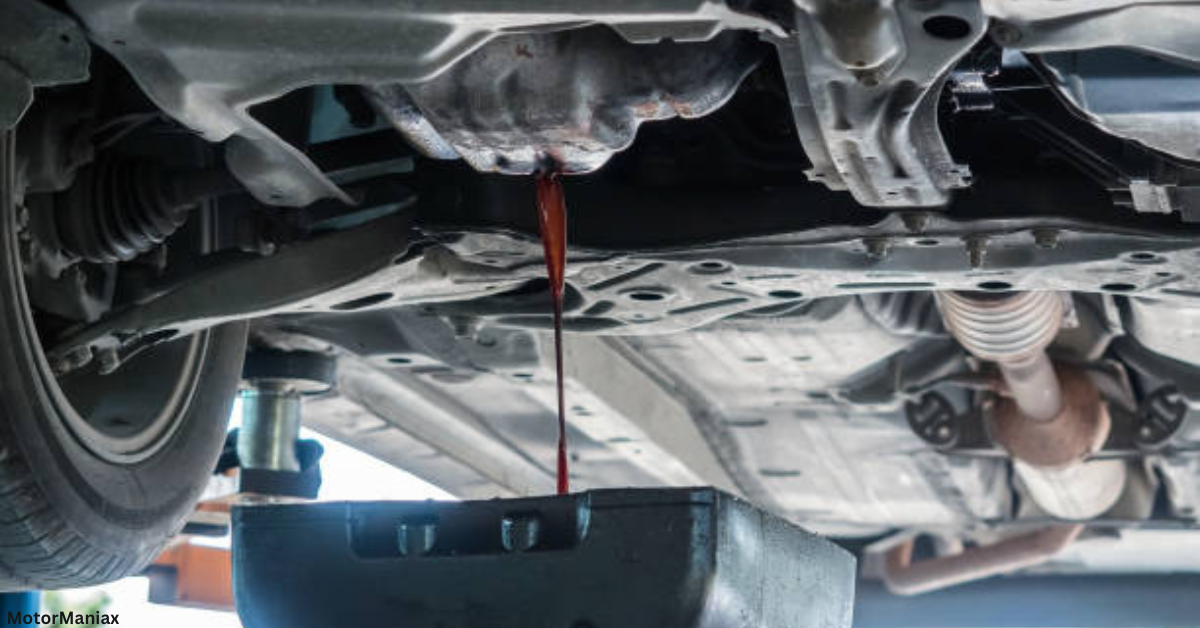
- Empty the oil pan: Drain the oil from the engine oil pan by removing the plug. Remove the plug at the base of the engine pan center and let the oil gather in the catch basin or in the drip tray.
- Remove the bolts: Remove the bolts from the oil pan. You can use an adjustable wrench or socket wrench or an extension bar if necessary. For efficient unscrewing you can lubricate the grade. Loose one bolt at a time by loosening them.
- Unscrew the gearbox casing: Carefully unscrew the gearbox and detach the protective shields to better visual access to the gearbox. After finding out the screws around the gearbox, unscrew them using a wrench.
- Use rubber mallet: If you find the bolts are too tight, use a rubber mallet to tap them to loosen them a bit. Once it’s done, lift off the older oil pan from its housing and dispose of the oil in the safer area.
- Use degreaser: As the final step, apply digresser to ensure durability and performance. The use of degreaser helps in removing dirt, grime and other such contamination from the engine. Use a brush and dedicatedly apply it to the narrow areas. Wait for 10-15 minutes and remove the dirt afterwards using a wire brush.
How Do I Install New Oil Pan
Luckily, installing a new oil pan is very handy and simple. Here is the step-by-step process of how you can install it. Things you’ll need;
- Nuts
- Bolts
- Pan gaskets
- Washers
- An exhaust hanger removal tool
1. Check Clearance
First of all, check out the clearance and measure the suspension parts, transmission components, or fuel lines. Make 100% sure of the clearance between these objects so that there are no rubbing or rattling issues afterward.
2. Replace Sealants and Gaskets
For installing the new oil pan, gasket replacement is important. So clean the dirt and debris from the old gasket and remove anything built up from the residue from sealant or silicone. Then, apply a thinner layer of RTV silicone on each side and fix the new gasket in the right position.
3. Secure the Bolts on the Oil Pan
As a final step, you need to tighten the oil pan bolts but make sure to tighten them well. Loose bolts will likely cause trouble later on. Correct the fitting and use a torque wrench to tighten each of the oil pan bolts. Tighten the bolt to the recommended torque setting (you can check the manual).
FAQs
How long does it take to remove the oil pan?
Replacing the oil pan is not a hard task. But you need to understand the car mechanic. To change the oil pan you need to deal with the right measurement for which it’s important to have some prior knowledge. Usually it takes about 2-4 hours on which the type of your car/vehicle also matters.
Is it difficult to remove the oil pan?
Removing the oil pan is not very difficult, especially if you know how it’s done. However, for the first time, it can be challenging if you don’t know anything about the car components.
Removing the oil pan will give you access to the major engine parts, such as the crankshaft and camshaft. If you don’t know anything about it, it’s better to call a mechanic and save your vehicles from any damage.
How Much Will My Oil Pan Replacement Cost?
If you hire professional service, oil pan replacement will cost you about $100 and $400. However, it also depends on what car model you have and what tools are to be used. For example, a Honda Accord costs about $250 to replace the oil pan (labor charges are excluded).
Conclusion
Replacing the oil pan from the car without removing the engine is not difficult if you do it properly. However if you don’t know anything at all about the engine, its internal components etc. you should ask for the professional service. But if you do it on your own, make sure to secure the bolts nice and tight to avoid any damage later on.